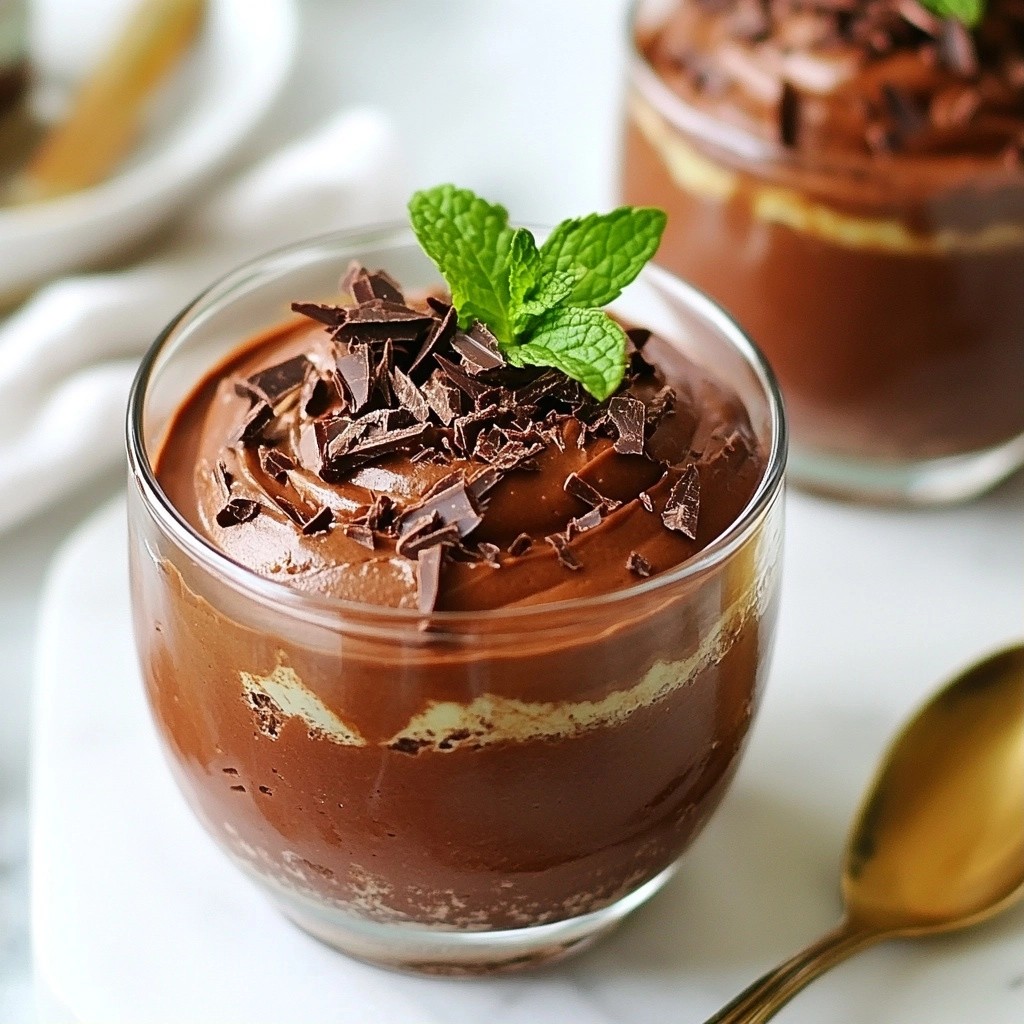
If you love rich and minty desserts but want to skip the sugar and carbs, this Sugar-Free Low-Carb Chocolate Mint Mousse Delight is for you! I’ll guide you through simple steps and easy ingredients to create a tasty treat that satisfies your cravings. You’ll impress family and friends with this creamy, luscious dessert. Let’s dive into the sweet world of sugar-free indulgence together!
Why I Love This Recipe
- Decadent Flavor: The combination of rich chocolate and refreshing mint creates a delightful dessert that’s truly irresistible.
- Quick and Easy: This mousse comes together in just 10 minutes, making it a perfect last-minute dessert option.
- Low Sugar Option: With the use of erythritol or another sugar substitute, you can enjoy this treat without the guilt.
- Elegant Presentation: Serve it in clear cups and garnish for a stunning look that impresses guests.
Ingredients
List of required ingredients
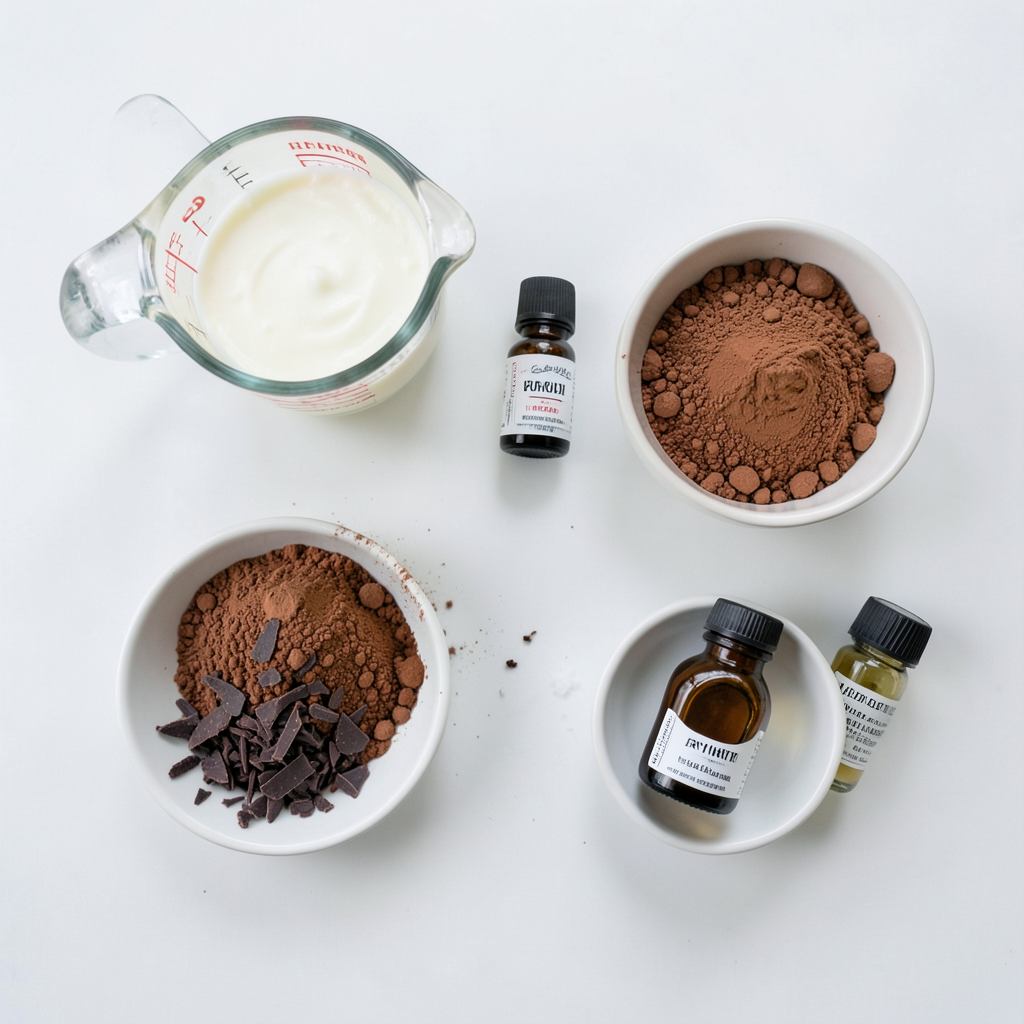
To make this delightful sugar-free low-carb chocolate mint mousse, gather these items:
- 1 cup heavy cream
- 1 teaspoon pure peppermint extract
- 2 tablespoons cocoa powder (unsweetened)
- 1/4 cup erythritol (or another sugar substitute of your choice)
- 1 teaspoon vanilla extract
- A pinch of salt
These ingredients combine to create a rich and creamy dessert that fits your low-carb lifestyle.
Recommended sugar substitutes
When I say sugar substitutes, I mean options like erythritol, monk fruit sweetener, or stevia. Erythritol is my top choice because it works well and has no calories. Monk fruit sweetener adds a nice taste, too. Stevia is great for those who want a strong sweetness. Choose any of these to keep your mousse sugar-free and delicious.
Optional garnishes for serving
Garnishing your mousse can elevate its look and taste. I suggest adding dark chocolate shavings or cacao nibs on top. They add a touch of elegance and a slight crunch. You can also use a sprig of fresh mint to make your serving more eye-catching. These small touches can make your mousse feel extra special.
Step-by-Step Instructions
Preparation of the mousse base
Start with a large mixing bowl. Pour in one cup of heavy cream. This cream is key for a rich mousse. Use an electric mixer set to medium speed. Whip the cream until it thickens. Look for soft peaks to form. This step is vital for a light texture.
Whipping the cream for the perfect texture
Whipping the cream takes about two to three minutes. You want it thick but not too stiff. If it's too thick, the mousse won't be fluffy. Keep an eye on it as you whip. Soft peaks mean you are ready for the next step.
Combining dry and wet ingredients method
In a separate bowl, mix the cocoa powder, erythritol, and salt. Use a whisk to combine these dry ingredients well. Slowly add this mix to the whipped cream. Use a rubber spatula to fold it in gently. This keeps the air in the cream. Then, add one teaspoon of peppermint extract and vanilla extract. Fold carefully until no dry spots remain. Now, your mousse base is ready!
Tips & Tricks
How to achieve the best mousse texture
To get the best mousse texture, whip your cream to soft peaks. This means it should hold its shape but still be soft and creamy. Start with a cold bowl and cream. This helps the cream whip faster. When you mix in the dry ingredients, fold gently. This keeps the mousse light and airy. If you overmix, the mousse can become dense.
Alternatives for dairy-free or vegan options
For a dairy-free or vegan mousse, use coconut cream instead of heavy cream. Chill a can of coconut milk overnight. Scoop out the thick cream and whip it just like regular cream. You can use maple syrup or a vegan sweetener instead of erythritol. For flavor, stick with peppermint extract and vanilla extract.
Serving suggestions and presentation ideas
Serve the mousse in clear cups to show off its rich color. You can garnish it with dark chocolate shavings or cacao nibs to add a nice touch. A sprig of fresh mint on top gives a lovely look. For a fun twist, serve with berries or a drizzle of sugar-free chocolate sauce. Enjoy the mousse straight from the fridge for a cool treat!
Pro Tips
- Chill Your Bowl: For an extra fluffy mousse, chill your mixing bowl and beaters in the freezer for 10-15 minutes before whipping the cream. This helps the cream whip faster and achieve better volume.
- Quality Ingredients Matter: Use high-quality cocoa powder and pure peppermint extract for the best flavor. The better the ingredients, the richer your mousse will taste.
- Fold Gently: When incorporating the dry ingredients into the whipped cream, use a gentle folding motion to maintain the airiness of the mousse. Overmixing can lead to a denser texture.
- Serve Chilled: Mousse tastes best when served chilled. Make sure to refrigerate for at least one hour, but you can also make it a day ahead to let the flavors develop even more.
Variations
Mint chocolate mousse with different flavors
You can easily switch up the flavor of this mousse. For a twist, try adding orange zest. The bright citrus taste pairs well with chocolate. You can also use almond extract instead of peppermint. This gives a warm, nutty flavor that many enjoy. If you fancy a berry burst, try mixing in a few pureed raspberries. This adds a fruity note that complements the cocoa.
Seasonal variations using fruits or spices
Seasons bring fresh choices. In spring, try fresh strawberries or blueberries blended into the mousse. These fruits add sweetness and a pop of color. In fall, consider adding a dash of cinnamon or nutmeg. These spices create a cozy flavor perfect for chilly nights. You can even fold in some pumpkin puree for a festive treat.
Adjusting sweetness levels for personal preferences
Everyone has their own taste. If you like it sweeter, add a bit more erythritol. Start with a teaspoon and test the flavor. If you prefer less sweetness, cut back on the sweetener. This mousse is very forgiving. You can also try different sweeteners like monk fruit or stevia. Just keep in mind that some sweeteners are sweeter than others, so adjust carefully.
Storage Info
How to properly store leftovers
To store your leftover chocolate mint mousse, place it in an airtight container. This helps keep the mousse fresh and tasty. Make sure to seal the container well. If you don’t have an airtight container, you can cover the mousse with plastic wrap. Press the wrap directly onto the mousse to limit air exposure.
Tips for keeping freshness
Always store the mousse in the fridge. This dessert loves the cold! Keep it away from strong-smelling foods to avoid unwanted flavors. If you want to keep the mousse extra fresh, avoid adding garnishes until you serve it. Adding garnishes too soon can make them soggy and change the texture.
Shelf life of the mousse
Your chocolate mint mousse can last about 3 to 5 days in the fridge. Enjoy it within this time for the best taste and texture. Always check for any signs of spoilage before eating. If it looks or smells off, it’s better to toss it out.
FAQs
Can I use different sweeteners in this recipe?
Yes, you can! If you want to change the sweetener, use any sugar substitute you like. Options include stevia, monk fruit, or xylitol. Just remember to taste as you go. Some sweeteners are sweeter than others, so adjust the amount to your liking.
What can I substitute for heavy cream?
You can use coconut cream or full-fat Greek yogurt as a substitute. Coconut cream gives a nice flavor, while Greek yogurt adds protein. If you want a lighter option, you can try using almond milk. Just note that it may not whip as well.
How can I make this mousse fluffier?
To make your mousse fluffier, whip the heavy cream longer until it forms stiff peaks. This adds more air and makes the mousse light. Also, fold the dry ingredients in gently. This keeps the air trapped in the cream. If you want a bit more fluff, you can also fold in some whipped egg whites.
You learned about the key ingredients and how to prepare the mousse step-by-step. I shared tips for perfect texture and vegan options. We explored fun variations, like seasonal flavors and sweetener adjustments. Storing your mousse properly also extends its shelf life.
Mousse is versatile, and you can make it unique. With these tips, anyone can create a delightful dessert. Enjoy trying new ideas and flavors!