Ready for a delicious treat that’s both creamy and guilt-free? This Sugar-Free Coconut Vanilla Pudding is your new go-to dessert! With simple ingredients and easy steps, you can whip up a delight that satisfies your sweet tooth without the sugar crash. I’ll guide you through the recipe, tips, and tricks to make it perfect every time. Let’s dive in and make this tasty pudding together!
Why I Love This Recipe
- Healthy Alternative: This pudding is a guilt-free dessert option that satisfies your sweet tooth without added sugars.
- Easy to Make: With just a few simple ingredients and minimal prep time, you can whip up a delicious dessert in no time.
- Versatile Toppings: Customize your pudding with various toppings like fresh fruit or shredded coconut for added flavor and texture.
- Chill and Serve: This pudding can be made ahead of time, making it a perfect make-ahead dessert for gatherings or weeknight treats.
Ingredients
List of Ingredients
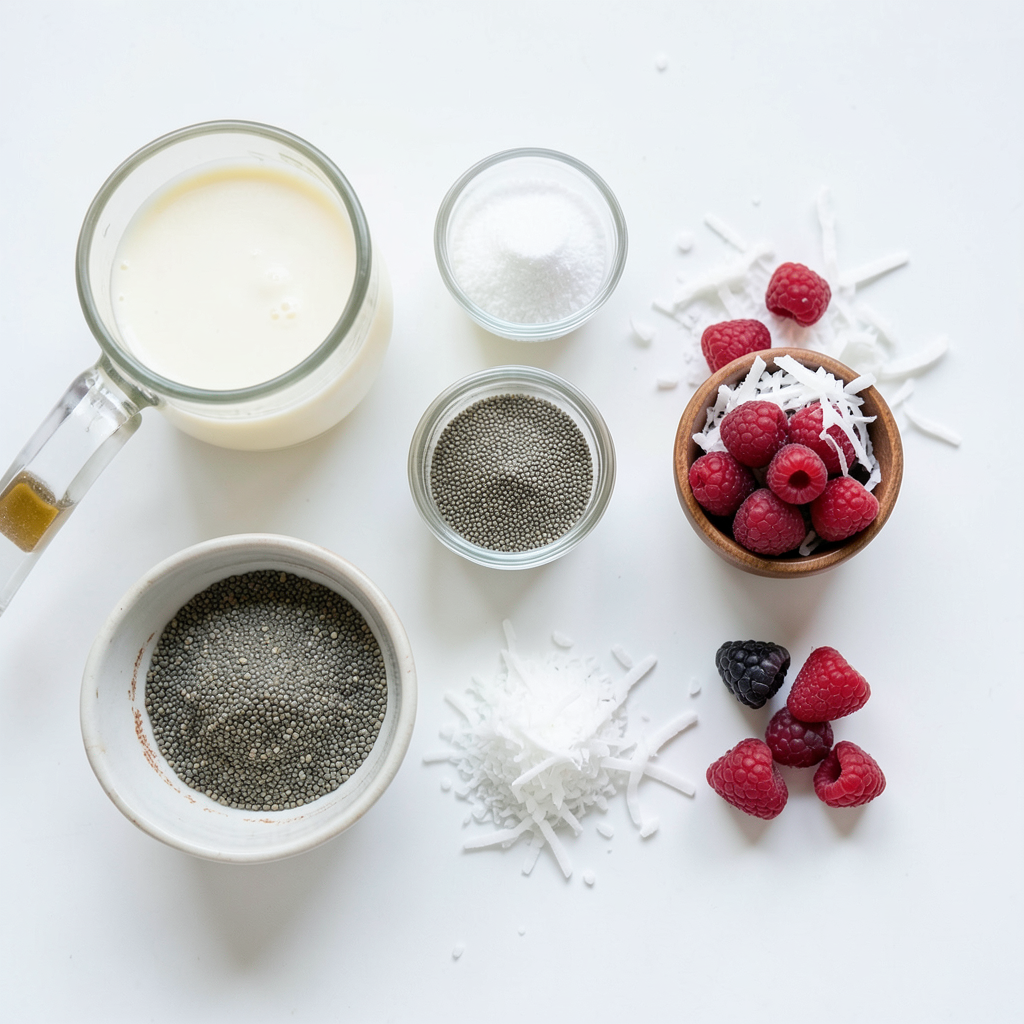
To make Sugar-Free Coconut Vanilla Pudding, gather these simple items:
- 1 cup unsweetened coconut milk
- 1/2 cup almond milk
- 1/4 cup chia seeds
- 1/4 cup granulated erythritol (or your preferred sugar substitute)
- 1 teaspoon vanilla extract
- 1/4 teaspoon sea salt
- 1 tablespoon unsweetened shredded coconut (for topping, optional)
- Fresh berries or sliced fruit (for garnish, optional)
Nutritional Information
This pudding is not only tasty, but it is also good for you. Each serving contains:
- Calories: 100
- Protein: 2g
- Fat: 7g
- Carbohydrates: 10g
- Fiber: 5g
- Sugar: 0g
These numbers can vary based on the brand of ingredients you use.
Recommended Brands
For the best taste and quality, I suggest using:
- Coconut Milk: Aroy-D or Thai Kitchen
- Almond Milk: Califia Farms or Silk
- Erythritol: Swerve or Lakanto
- Chia Seeds: Navitas Organics or Bob's Red Mill
These brands offer great flavor and help you create a creamy, delightful pudding.
Step-by-Step Instructions
Preparation Steps
To make this sugar-free coconut vanilla pudding, start with two types of milk. In a medium bowl, mix 1 cup of unsweetened coconut milk and 1/2 cup of almond milk. Use a whisk to blend them well. Next, add 1/4 cup of chia seeds. These seeds will help thicken the pudding. Then, pour in 1/4 cup of granulated erythritol. You can use any sugar substitute you prefer. Add 1 teaspoon of vanilla extract for flavor and 1/4 teaspoon of sea salt to balance the sweetness. Mix everything until it looks even. Let the mixture sit for about 5 minutes. This step helps the chia seeds absorb the liquid. After 5 minutes, whisk it again to break up any clumps.
Chilling Process
Once your mixture is ready, cover the bowl with plastic wrap or a lid. Place it in the fridge. You need to chill it for at least 3 to 4 hours. This allows the pudding to thicken. If you like a thicker pudding, let it chill overnight. After the chilling time, take it out and stir it well. This ensures a smooth texture.
Serving Instructions
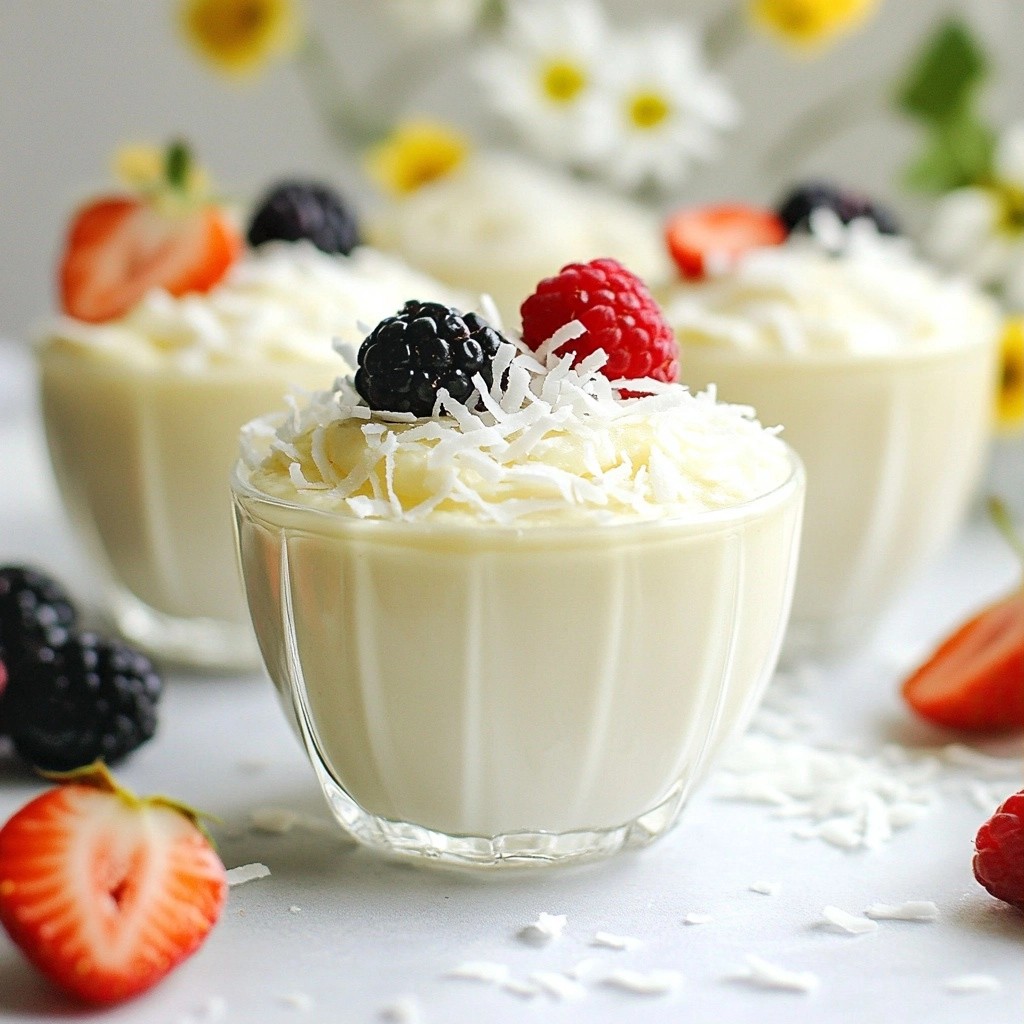
Now it's time to serve! Spoon the pudding into cups or bowls. I love using clear glass cups because they show off the beautiful texture. If you want to make it special, sprinkle some unsweetened shredded coconut on top. You can also add fresh berries or slices of fruit for a colorful garnish. Enjoy your delightful sugar-free coconut vanilla pudding!
Tips & Tricks
Best Practices for Consistency
To get the perfect pudding, use unsweetened coconut milk and almond milk. The mix gives a creamy texture. Chia seeds are key for thickening. Make sure to whisk them in well. Let the mixture sit for five minutes after mixing. This helps the chia seeds absorb liquid. If you want a thicker pudding, chill it overnight.
Common Mistakes to Avoid
One mistake is not whisking long enough. Make sure to mix all ingredients well. If you skip this step, the chia seeds might clump. Another mistake is using too much sweetener. Adjust the erythritol to your taste for balance. Lastly, don’t rush the chilling time. It needs at least three hours to thicken properly.
Enhancing Flavor and Presentation
For more flavor, try adding a splash of almond extract. It pairs well with vanilla and coconut. You can also mix in fresh fruit for a healthy twist. When serving, use clear glass cups to show off the layers. Top with unsweetened shredded coconut for a nice touch. A sprig of mint adds color and freshness.
Pro Tips
- Use Fresh Ingredients: Always opt for fresh berries or fruit slices for garnish to enhance flavor and presentation.
- Adjust Sweetness: Taste the pudding before chilling; you can easily adjust the sweetness by adding more erythritol if desired.
- Experiment with Flavors: Feel free to add different flavor extracts, such as almond or coconut, to customize your pudding.
- Storage Tips: Store the pudding in airtight containers in the fridge for up to 5 days for easy snacking.
Variations
Flavor Variations
You can change the flavor of this pudding easily. Try adding cocoa powder for a chocolate twist. Use about two tablespoons of cocoa when mixing. For a fruity option, mix in pureed fruit. Strawberries or mango work well. You can also add a touch of almond extract for more depth. This simple change brings a new taste and keeps it exciting.
Dietary Modifications
This recipe is already pretty flexible. If you need a nut-free option, swap almond milk for oat milk. You can use coconut milk alone too. If you want to make it vegan, this recipe is perfect as is. Just ensure your sugar substitute is also vegan. For gluten-free needs, all ingredients are gluten-free. You can enjoy this pudding without worry.
Topping Ideas
Toppings can make your pudding look and taste even better. Consider adding fresh berries for a burst of color and flavor. Sliced bananas or kiwi also add a fun twist. A sprinkle of unsweetened shredded coconut gives texture. For a bit of crunch, add chopped nuts if you’re not nut-free. Consider a drizzle of sugar-free chocolate sauce for extra sweetness.
Storage Info
How to Store Pudding
To store your sugar-free coconut vanilla pudding, place it in an airtight container. This will keep it fresh and prevent any odors from other foods in your fridge. Make sure to cover the pudding well. You can also use plastic wrap directly on the surface to avoid a skin from forming.
Shelf Life and Freezing Tips
This pudding lasts about 4 to 5 days in the fridge. If you want to freeze it, pour the pudding into a freezer-safe container. Leave some space at the top, as it will expand when frozen. You can keep it in the freezer for up to 2 months. When you're ready to eat it, thaw it in the fridge overnight.
Reheating Instructions (if applicable)
You won't need to reheat this pudding. It’s best enjoyed cold. If you think it needs a little smoothing, stir it well after thawing. If it seems too thick, add a splash of coconut or almond milk to get the right texture. Enjoy your creamy treat!
FAQs
What is the best sugar substitute for this recipe?
The best sugar substitute for this pudding is granulated erythritol. It adds sweetness without calories. You can also use monk fruit or stevia if you prefer. Just remember that each substitute has a unique taste. So, choose the one you like most.
Can I use dairy milk instead of non-dairy options?
Yes, you can use dairy milk instead of non-dairy options. Whole milk or light cream will work well. They will give the pudding a rich flavor. However, the texture may change slightly. If you want it to be dairy-free, stick with coconut and almond milk.
How can I make this pudding thicker or creamier?
To make the pudding thicker, add more chia seeds. You can also let it chill longer in the fridge. If you want it creamier, try using more coconut milk. It adds a nice, rich taste. Adjust these elements until you reach your desired texture.
This blog post covered the key steps to make delicious pudding. We looked at ingredients, preparation, and chilling. I shared tips to avoid common mistakes and enhance flavor. You learned about flavor variations and how to store your pudding well.
Remember, making pudding is fun and simple. Use the right ingredients and follow the steps. You’ll enjoy a tasty treat every time. Happy cooking!