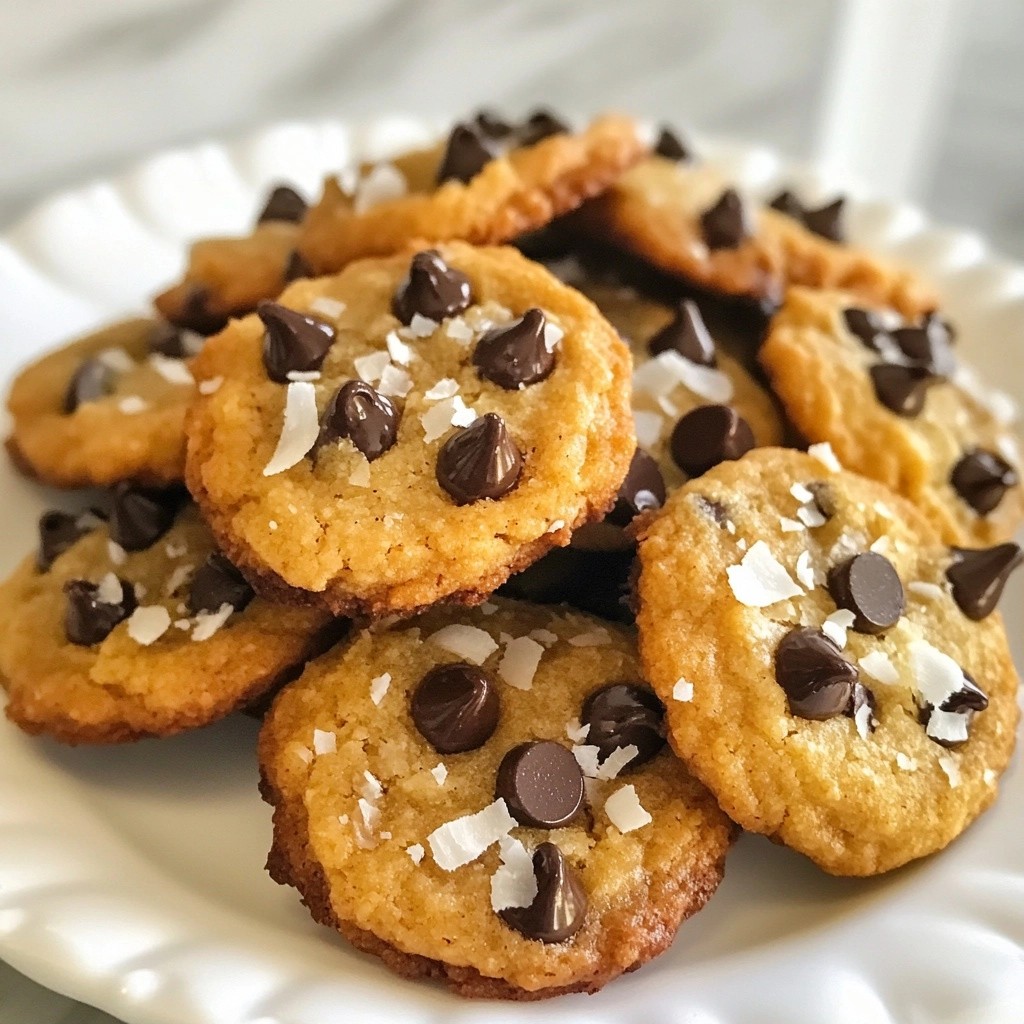
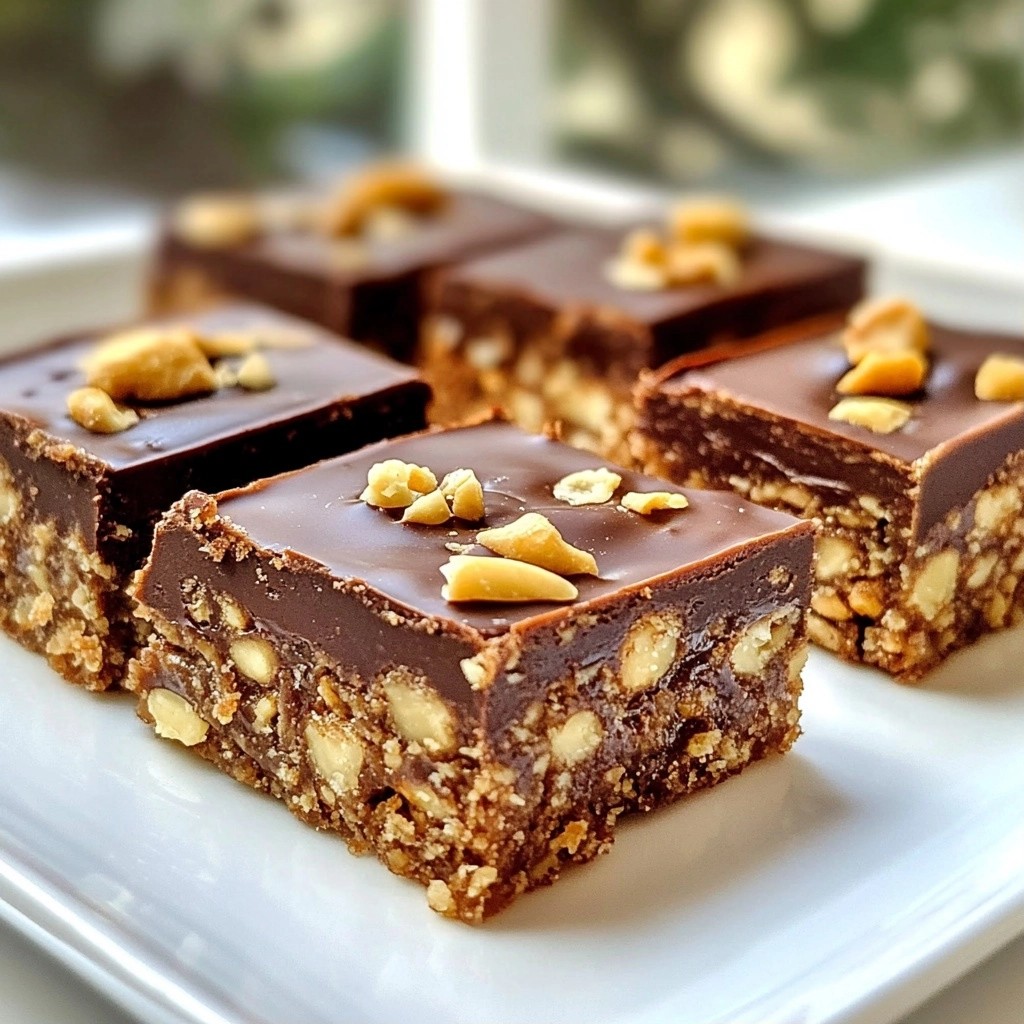
Looking for a tasty, crunchy treat that fits your keto lifestyle? You’ve found it! These Crunchy Keto Almond Butter Bars are easy to make and packed with flavor. I’ll share the simple ingredients that make this treat so healthy, along with step-by-step instructions to help you nail the recipe. Plus, I'll include tips and variations to satisfy your cravings. Let’s dive into these delicious bars!
Why I Love This Recipe
- Deliciously Nutty: The combination of almond butter and chopped nuts gives these bars a rich, nutty flavor that is truly satisfying.
- Keto-Friendly: With low carbs and high healthy fats, these bars are perfect for anyone following a ketogenic diet.
- Quick and Easy: This recipe takes only 10 minutes to prepare, making it an ideal snack for busy days.
- Customizable: You can easily modify the add-ins, like using different nuts or adding sugar-free chocolate chips, to suit your taste.
Ingredients
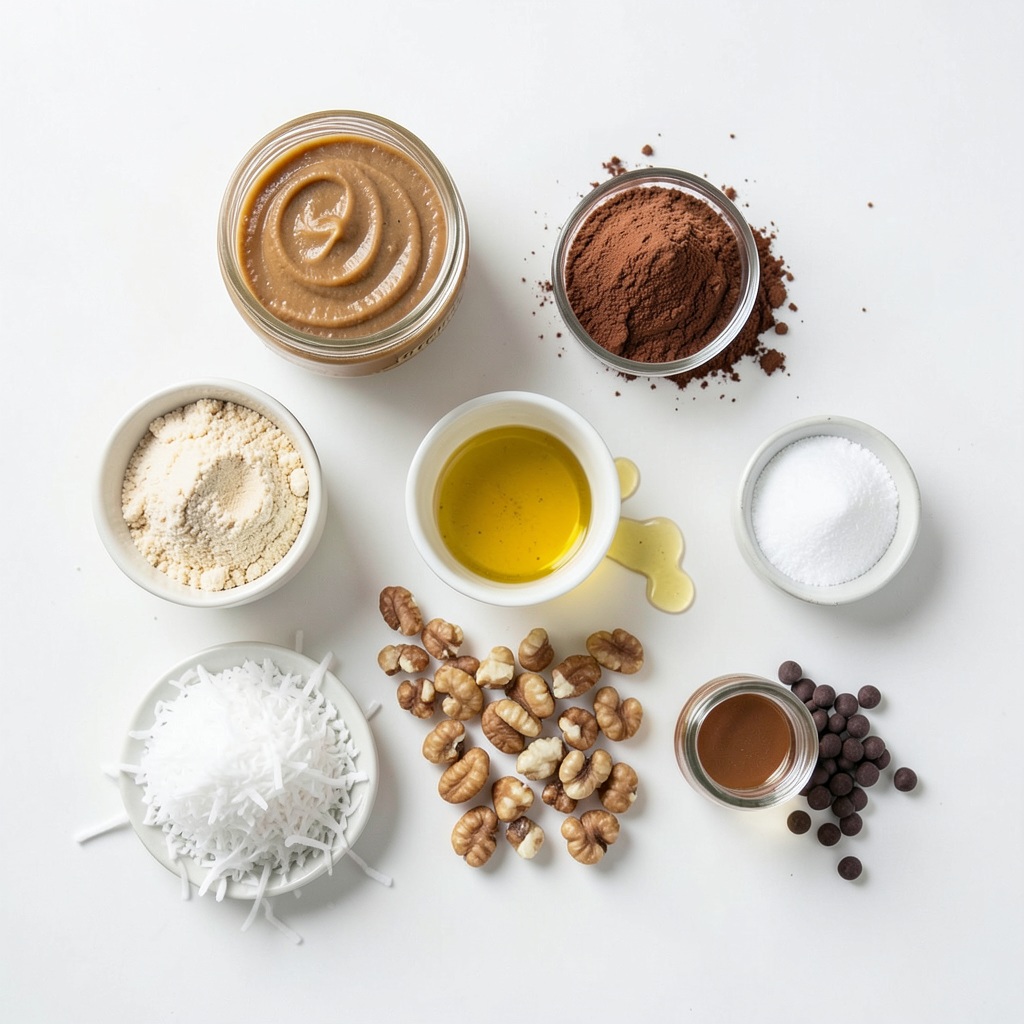
Detailed List of Ingredients
- 1 cup almond butter (smooth or crunchy)
- 1/2 cup coconut flour
- 1/4 cup unsweetened cocoa powder
- 1/4 cup zero-calorie sweetener (like erythritol or stevia)
- 1/4 cup coconut oil, melted
- 1/2 cup chopped nuts (walnuts, pecans, or almonds)
- 1/4 cup unsweetened shredded coconut
- 1 tsp vanilla extract
- 1/2 tsp salt
- Optional: a few sugar-free chocolate chips for topping
Nutritional Benefits of Each Ingredient
- Almond butter: This nut butter is rich in healthy fats. It provides protein and fiber, which help keep you full.
- Coconut flour: Low in carbs and high in fiber, coconut flour can aid digestion. It adds a pleasant texture and flavor.
- Cocoa powder: Unsweetened cocoa is full of antioxidants. It can boost your mood and adds a rich chocolate taste.
- Zero-calorie sweetener: Erythritol or stevia offers sweetness without extra calories. This helps keep the bars keto-friendly.
- Coconut oil: This oil supports heart health with medium-chain fatty acids. It also adds a nice creaminess to the bars.
- Chopped nuts: Nuts like walnuts or pecans provide extra crunch. They are packed with healthy fats and protein.
- Shredded coconut: Unsweetened shredded coconut adds flavor and texture. It also has fiber for added health benefits.
- Vanilla extract: This adds a warm, sweet note. It enhances the overall flavor of the bars.
- Salt: A little salt balances the sweetness and brings out the flavors.
- Sugar-free chocolate chips: These optional chips can add extra chocolatey goodness without sugar.
Recommended Brands for Keto Ingredients
- Almond Butter: Look for brands like Justin's or Wild Friends for quality options.
- Coconut Flour: Bob's Red Mill offers a great coconut flour that many love.
- Cocoa Powder: Try Ghirardelli for rich, delicious cocoa powder.
- Zero-calorie Sweetener: Monk Fruit or Swerve are popular choices for sweeteners.
- Coconut Oil: Nutiva is a trusted brand for high-quality coconut oil.
- Chopped Nuts: Use raw or roasted nuts from brands like Blue Diamond.
- Unsweetened Shredded Coconut: Look for brands like Let’s Do Organic for fresh coconut.
- Vanilla Extract: Nielsen-Massey offers pure vanilla for great flavor.
- Sugar-free Chocolate Chips: Lily’s is a go-to brand for tasty sugar-free chocolate chips.
These ingredients work together to create a tasty treat that fits your keto lifestyle.
Step-by-Step Instructions
Preparation Overview
To start, gather all your ingredients. You will need almond butter, coconut flour, cocoa powder, sweetener, coconut oil, chopped nuts, shredded coconut, vanilla extract, and salt. This recipe is quick and takes about 10 minutes to prep. You can make it in a few simple steps, making it a fun kitchen project!
Detailed Baking Instructions
1. Preheat the Oven: First, preheat your oven to 350°F (175°C). This step is key to getting your bars just right.
2. Prepare the Pan: Line an 8x8 inch baking dish with parchment paper. Let some paper hang over the sides. This helps with easy removal later.
3. Mix Wet Ingredients: In a medium bowl, add the almond butter, melted coconut oil, vanilla extract, and salt. Stir until it's smooth.
4. Combine Dry Ingredients: In another bowl, whisk the coconut flour, cocoa powder, and sweetener. Make sure it is well mixed.
5. Combine Mixtures: Gradually add the dry mix to the wet mix. Stir well until you have a thick batter.
6. Fold in Add-ins: Gently fold in the chopped nuts and shredded coconut. This adds great texture and flavor to the bars.
7. Spread in Pan: Pour the mixture into the prepared dish. Spread it evenly with a spatula. Press down firmly to compact it. If you want, sprinkle some sugar-free chocolate chips on top.
8. Bake: Place the dish in the oven. Bake for 15-20 minutes. Look for golden edges and a set center.
9. Cool and Slice: Once baked, remove the dish from the oven. Let it cool completely in the pan. Lift the bars out using the parchment paper. Move them to a cutting board and slice into squares or rectangles.
Tips for Cooling and Slicing Bars
Letting the bars cool is important. If you cut them too soon, they may crumble. Cool them in the pan for at least 30 minutes. Once they are firm, use a sharp knife to slice. For neat edges, wipe the knife between cuts. Enjoy your crunchy keto almond butter bars right away or store them for later!
Tips & Tricks
How to Achieve the Perfect Crunch
To get that crunch in your bars, use chopped nuts. I recommend walnuts, pecans, or almonds. They add great texture. Mix them in gently after you combine the wet and dry ingredients. Press the mixture firmly in the pan. This helps keep the bars together and adds to the crunch. Bake until the edges turn golden brown. This step is key to a crunchy finish.
Common Mistakes to Avoid
One big mistake is not measuring your ingredients. Too much coconut flour can make bars dry. Another mistake is overmixing the batter. This can lead to tough bars. Make sure to fold in the nuts and coconut gently. Also, don’t skip cooling the bars before cutting. If you cut them too soon, they may fall apart.
Recommended Serving Suggestions
These bars taste great on their own. You can also serve them with a side of fresh berries. Drizzle some melted sugar-free chocolate on top for fun. For a quick snack, pair them with a cup of tea or coffee. They are great for lunchboxes or post-workout treats. Enjoy them chilled or at room temperature!
Pro Tips
- Perfectly Measure Your Almond Butter: Use a dry measuring cup for almond butter and lightly press it down to avoid packing it too tightly, ensuring your bars have the right consistency.
- Choose the Right Sweetener: Experiment with different zero-calorie sweeteners to find the one you prefer. Each has a unique flavor profile that can slightly alter the taste of your bars.
- Customize with Add-ins: Feel free to add other ingredients like chia seeds or pumpkin seeds for added nutrition and texture to your bars.
- Use a Food Processor: For a smoother batter, consider using a food processor to blend the wet ingredients together, especially if your almond butter is on the thicker side.
Variations
Customizing with Different Nuts
You can change these bars by using different nuts. Try walnuts for a rich taste. Pecans add a nice crunch and sweetness. If you prefer, stick with more almonds for a classic flavor. Each nut brings its own flair, so feel free to mix and match.
Flavor Infusions
Adding spices or extracts can enhance the flavor. A pinch of cinnamon gives warmth and depth. You might try a dash of nutmeg for a cozy vibe. Vanilla extract is a must, but almond extract can also add a lovely twist. Experiment with what you like to make these bars uniquely yours.
Options for Chocolate Lovers
For chocolate fans, you have options! Add cocoa powder for a deeper chocolate taste. You can also fold in sugar-free chocolate chips for a gooey texture. Drizzle melted sugar-free chocolate on top for extra decadence. These additions will satisfy your chocolate cravings while keeping it keto-friendly.
Storage Info
Best Practices for Preserving Freshness
To keep your Crunchy Keto Almond Butter Bars fresh, store them in an airtight container. Place the bars in the fridge. This will help them stay tasty for up to a week. Make sure to separate layers with parchment paper. This keeps them from sticking together. Avoid leaving them out at room temperature for too long, as they can become too soft.
Freezing Instructions for Long-term Storage
If you want to enjoy these bars later, freezing is a great option. To freeze, first, let the bars cool completely. Then, wrap each bar in plastic wrap or foil. Place the wrapped bars in a freezer-safe bag or container. This helps prevent freezer burn. You can freeze them for up to three months. When you’re ready to eat, just thaw them in the fridge overnight.
How to Reheat for Enjoyment
To enjoy your bars warm, heat them in the microwave. Use a microwave-safe plate and place one bar on it. Heat for about 10-15 seconds. This will make the chocolate chips soft and the bar warm. If you want a crispy texture, you can also pop them back in the oven at 350°F (175°C) for a few minutes. Enjoy your delicious treat!
FAQs
Can I use other nut butters?
Yes, you can use other nut butters. Peanut butter or cashew butter works well. Just make sure they are smooth and natural. The flavor will change, but they will still taste great. Use the same amount as almond butter in the recipe.
Are these bars suitable for meal prep?
Absolutely! These bars are perfect for meal prep. You can make a batch and store them for the week. They stay fresh in the fridge for up to a week. Just slice them and keep them in an airtight container. You can also freeze them for longer storage. They make a quick snack or a tasty treat.
How do I know when the bars are fully baked?
You will know the bars are done when the edges turn golden brown. The center should feel firm to the touch. You can also insert a toothpick in the center. If it comes out clean or with a few crumbs, they are ready. Be careful not to overbake, as this can make them dry.
This blog post covered key ingredients, step-by-step instructions, and helpful tips for making keto bars. I shared the benefits of each ingredient and recommended brands. You learned about baking techniques for a perfect texture and how to customize your bars. I also provided guidance on storage and reheating. Making these bars can be easy and fun. Enjoy experimenting with flavors and ingredients to find your favorite version. Whether you follow all the tips or invent your own, each bite can be tasty and satisfying.