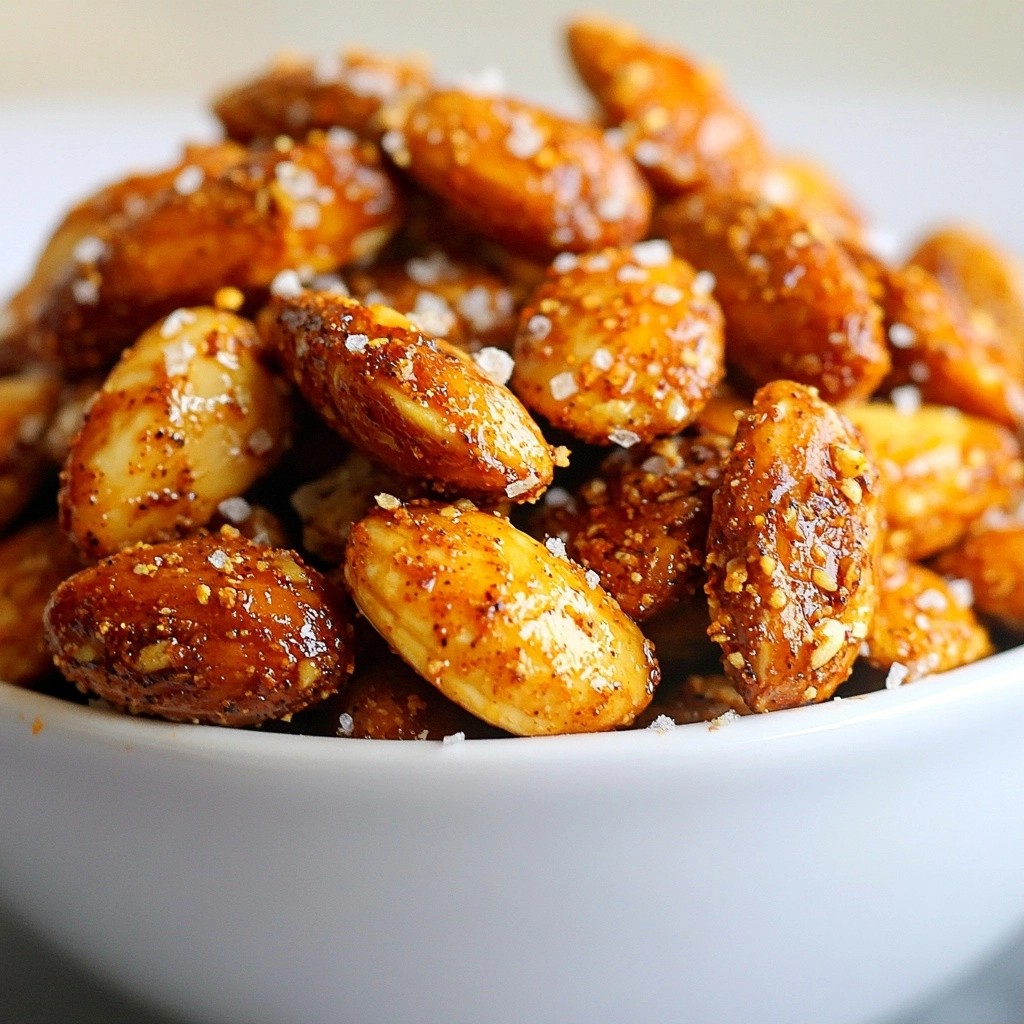

Looking for a tasty snack that fits your keto diet? These Crunchy Keto Cheddar Jalapeño Cheese Balls are the perfect answer! With just a few simple ingredients and easy steps, you’ll create a cheesy treat bursting with flavor. Plus, I’ll share tips to make them extra crispy and variations to suit your taste. Let’s dive into this delicious recipe and bring some crunch to your keto lifestyle!
Why I Love This Recipe
- Delicious Flavor Combination: The blend of sharp cheddar and spicy jalapeños creates a mouthwatering experience that's perfect for cheese lovers.
- Keto-Friendly: These cheese balls are low in carbs and high in flavor, making them an ideal snack for anyone following a ketogenic diet.
- Easy to Make: With only a few simple ingredients, this recipe is quick to prepare, making it perfect for busy weeknights or last-minute gatherings.
- Customizable Heat Level: You can adjust the spiciness by adding or omitting the cayenne pepper, catering to your personal taste preferences.
Ingredients
List of Essential Ingredients
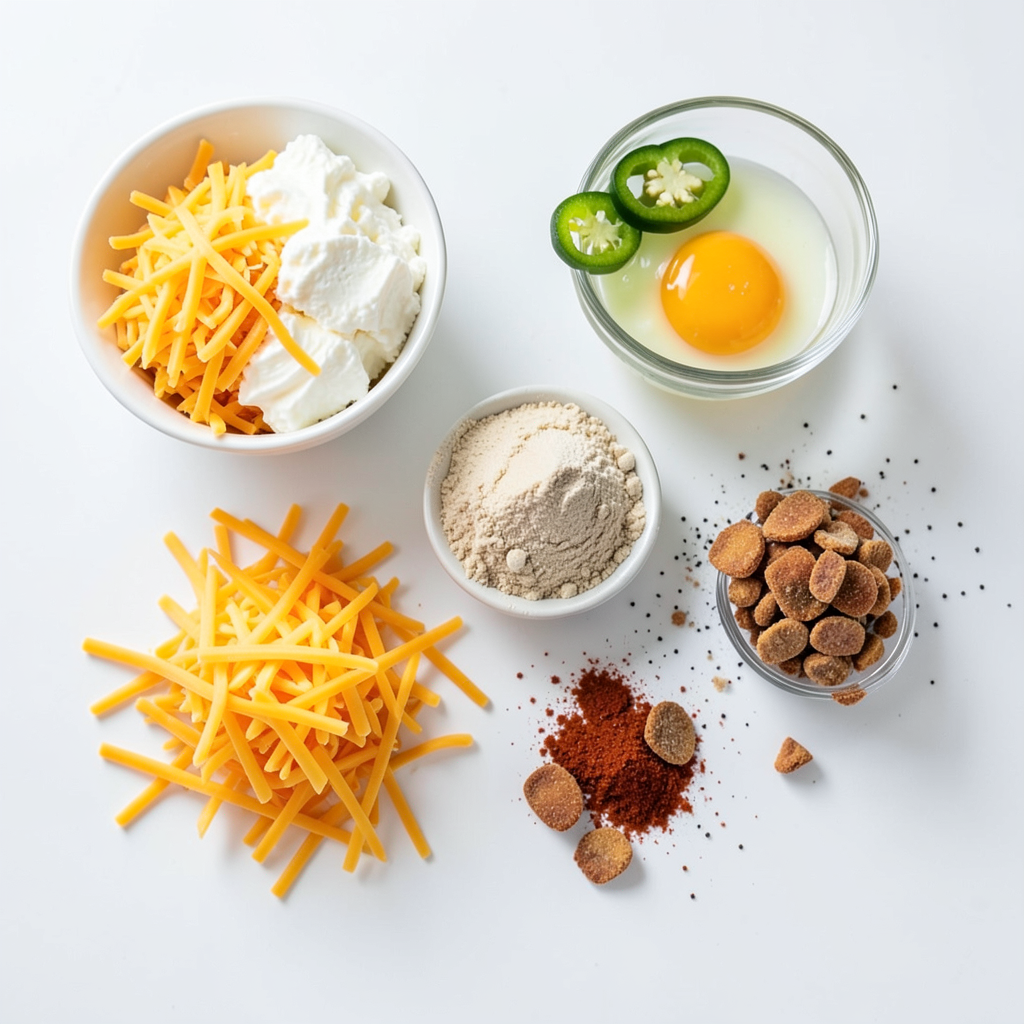
To make these crunchy keto cheddar jalapeño cheese balls, you need:
- 2 cups shredded sharp cheddar cheese
- 1/2 cup cream cheese, softened
- 1/4 cup almond flour
- 1 fresh jalapeño, deseeded and finely chopped
- 1 teaspoon garlic powder
- 1 teaspoon onion powder
- 1/2 teaspoon smoked paprika
- 1/4 teaspoon cayenne pepper (optional for extra heat)
- 1 egg, beaten (for coating)
- 1 cup crushed pork rinds (for coating)
- Salt and pepper to taste
Optional Seasonings for Extra Flavor
You can boost the flavor by adding:
- Fresh herbs like cilantro or parsley
- A dash of hot sauce for more heat
- A sprinkle of cumin for a smoky taste
These options can make your cheese balls even more exciting. Experimenting with spices can bring new life to the dish.
Recommended Alternatives for a Keto Variation
If you want to switch things up, consider these alternatives:
- Use mozzarella cheese for a milder flavor.
- Swap almond flour with coconut flour for a different texture.
- Replace jalapeños with poblano peppers for less heat.
These tweaks can help you customize your cheese balls while keeping them keto-friendly. Enjoy the process of making them your own!
Step-by-Step Instructions
Preparation of the Cheese Mixture
First, preheat your oven to 400°F (200°C). This gives your cheese balls a nice, crispy finish. Line a baking sheet with parchment paper to prevent sticking. In a large bowl, add 2 cups of shredded sharp cheddar cheese and 1/2 cup of softened cream cheese. Then, mix in 1/4 cup of almond flour for a perfect texture. Next, add 1 fresh jalapeño that you’ve deseeded and finely chopped. For flavor, sprinkle in 1 teaspoon of garlic powder, 1 teaspoon of onion powder, and 1/2 teaspoon of smoked paprika. If you like heat, add 1/4 teaspoon of cayenne pepper. Finally, season with salt and pepper to taste.
Mix everything well until it forms a cohesive, sticky mixture. This is the base for your cheese balls.
Forming and Coating the Cheese Balls
Now, using your hands, scoop out portions of the cheese mixture. Roll them into small balls, about 1 inch in diameter. Place these cheese balls on your lined baking sheet, giving them space to grow as they bake. In a separate bowl, crack and beat 1 egg. This will help the coating stick. In another bowl, place 1 cup of crushed pork rinds.
Take each cheese ball and dip it into the beaten egg, letting excess drip off. Next, roll the ball in the crushed pork rinds until it’s fully coated. This will give your cheese balls that crunchy texture everyone loves. Repeat this for all the cheese balls, making sure they are evenly coated.
Baking Process Details
Once all the cheese balls are coated, arrange them on the baking sheet, ensuring they are spaced apart. Now, it’s time to bake! Place the sheet in the preheated oven and let them bake for about 15-18 minutes. You want them to turn golden brown and crispy on the outside.
When they are done, carefully remove the cheese balls from the oven. Let them cool for a few minutes before serving. Enjoy them warm with sugar-free marinara sauce or guacamole for a tasty dip!
Tips & Tricks
How to Ensure Perfect Crispiness
To get that perfect crunch, bake the cheese balls at 400°F (200°C). Make sure to space them out on the baking sheet. If they are too close, they may steam instead of crisp up. Use crushed pork rinds for the coating. They give a great crunch that you will love. You can also try air frying them for a lighter option. This method can help keep them crispy all around.
Storing Leftover Cheese Balls
If you have cheese balls left, store them in an airtight container. They stay fresh for about three days in the fridge. You can also freeze them for longer storage. Just place them in a single layer on a baking sheet. Once frozen, transfer them to a freezer bag. They can stay in the freezer for up to two months.
Pairing Suggestions for Serving
These cheese balls taste great with dips. You can serve them with sugar-free marinara sauce. Guacamole is another yummy choice. For a fun twist, try a creamy ranch dip. To make your plate pop, garnish with fresh cilantro or parsley. This adds color and freshness to your dish.
Pro Tips
- Quality Cheese Matters: Use high-quality sharp cheddar for a richer flavor. The sharper the cheese, the more pronounced the taste in your cheese balls.
- Customize the Heat: Adjust the amount of jalapeño and cayenne pepper according to your heat preference. For milder cheese balls, consider omitting the cayenne altogether.
- Chill Before Baking: For extra crunch, chill the formed cheese balls in the refrigerator for about 30 minutes before coating them. This helps them hold their shape while baking.
- Perfectly Crispy Coating: Ensure each cheese ball is well-coated with pork rinds for maximum crunch. Press the pork rinds onto the surface gently to adhere well.
Variations
Adding Different Cheeses for Unique Flavors
You can swap cheddar with other cheeses for fun tastes. Try using mozzarella for a stretchy bite. Cream cheese adds richness and a soft texture. Gouda gives a smoky twist that many love. If you want a punch, use pepper jack. It adds heat and flavor in every bite.
Vegetarian-Friendly Modifications
To make these cheese balls vegetarian, skip the pork rinds. Use crushed nuts or seeds instead. Almonds or sunflower seeds can work great. They still give that crunch you want. You can also add chopped herbs like chives or parsley for freshness. This keeps it tasty and veggie-friendly.
Spicy vs. Mild Jalapeño Options
The heat of the jalapeño can change your dish a lot. If you like spice, keep the seeds and ribs in the jalapeño. This gives you that extra kick. For a milder flavor, remove all the seeds. You can also use sweet bell peppers. They taste good and keep it friendly for everyone.
Storage Info
Best Practices for Freezing Cheese Balls
You can freeze the cheese balls before or after baking them. If you freeze them raw, shape the balls and place them on a tray. Freeze until firm, about an hour, then transfer to a freezer bag. For baked cheese balls, let them cool completely first. Then, store them in an airtight container or a freezer bag. Remember to label and date the bags for easy tracking.
Reheating Tips for Maintaining Crunchiness
To reheat, preheat the oven to 350°F (175°C). Place the cheese balls on a baking sheet. Heat them for about 10-12 minutes. This method keeps them crunchy. Avoid microwaving, as it can make them soggy. If you prefer, you can also reheat them in an air fryer for 5-7 minutes at 350°F (175°C).
Shelf Life of Homemade Cheese Balls
Homemade cheese balls last about 3-4 days in the fridge. Store them in an airtight container to keep them fresh. If frozen, they can last for up to 3 months. Just be sure to check for any freezer burn before using them. Enjoy your crunchy keto cheddar jalapeño cheese balls whenever the craving strikes!
FAQs
Can I use a different type of cheese?
Yes, you can use other cheeses! Try mozzarella for a milder taste. Parmesan adds a nice twist too. Just keep in mind that the texture may change. Sharp cheese gives a stronger flavor. Experiment to find your favorite mix.
Are these cheese balls suitable for meal prep?
Absolutely! These cheese balls are great for meal prep. You can make a big batch ahead of time. Store them in the fridge for up to five days. Just reheat in the oven for a few minutes before serving. This makes for easy snacks or appetizers later on.
How do I make them less spicy?
To reduce the heat, leave out the jalapeño. You can also use less cayenne pepper. For a mild flavor, opt for a sweet bell pepper instead. This keeps the cheese balls tasty without the spice. You can enjoy them without the burn!
In this blog post, I covered essential ingredients for making cheese balls and gave you step-by-step instructions. You learned tips for crispiness and how to store leftovers. I shared tasty variations and answered common questions.
In conclusion, these cheese balls are easy to make and delicious to enjoy. Experiment with flavors and have fun with the process. You can adapt this recipe to suit your tastes and dietary needs. Enjoy creating your perfect cheese balls!